 learndesign
CO₂ laser cutting, explained
What is actually happening inside the laser cutter, and the three ways to use it. Cutting, line engraving and raster engraving are the same beam doing three different jobs.
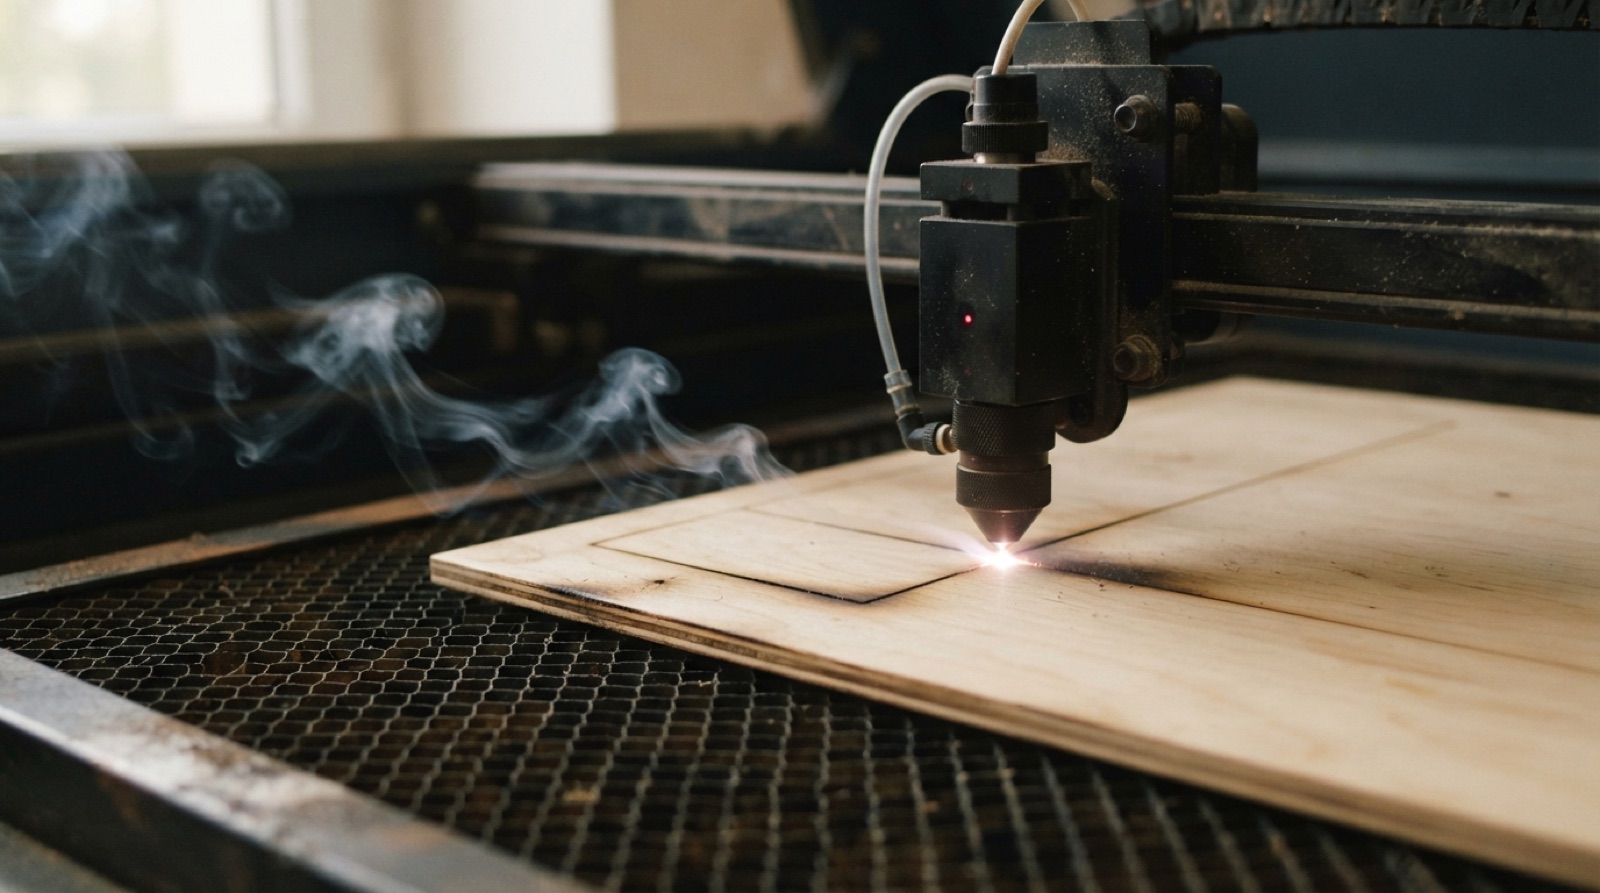
A laser cutter is a machine for pointing a very hot, very small spot of light at a sheet of material and moving it around. Nothing touches the work. There is no blade to sharpen and no bit to snap. Everything the machine can do comes down to three things: how much light it puts out, how fast it moves, and whether it follows a line or sweeps an area.
Once you understand that, the three techniques stop being separate menu items and become one idea with the knobs set differently.
What is inside the machine
The light comes from a glass tube about as long as your arm, mounted across the back of the machine. It is filled with a mix of gases, mostly carbon dioxide with some nitrogen and helium. A power supply pushes a high voltage through the gas, the gas glows, and mirrors at each end of the tube bounce that glow back and forth until it comes out one end as a tight beam. The tube gets hot doing this, so water is pumped through a jacket around it the whole time the machine is on. If the water stops, the tube cracks.
The beam is infrared, at a wavelength of 10.6 µm. You cannot see it. The red dot you see on the material is a separate low-power pointer bolted next to the beam path so you know where the real one is aimed.
From the tube, the beam bounces off three mirrors to reach the cutting head: one at the end of the tube, one on the moving gantry, and one in the head itself that turns the beam downward. In the head, a lens focuses it to a spot somewhere around 0.1 to 0.25 mm across. That spot is where the work happens, and its width is most of the reason a cut has a kerf.
The lens is not glass. Glass is opaque at 10.6 µm, which is also why the machine can cut clear acrylic: the acrylic is transparent to your eyes and opaque to the laser, so it absorbs the energy and melts. The lens is made of zinc selenide, a yellowish crystal that lets infrared through. It is soft, it scratches, and it costs real money. Do not touch it.
Two more parts matter. Air assist is a small nozzle that blows compressed air down through the head at the spot. It pushes the flame out, keeps smoke off the lens, and clears the cut so the beam can reach the bottom of the sheet. The exhaust fan pulls the smoke out of the cabinet and outside. The machine should never run with either of them off.
Why it cuts
The spot is small, so all the tube’s power lands on a tiny patch of material. That patch heats up faster than the heat can spread sideways. Wood chars and turns to gas, acrylic melts and boils off, card burns away. The beam keeps going down until it is out the bottom or runs out of energy.
How deep it goes depends on two settings you control:
- Power, as a percentage of what the tube can put out.
- Speed, how fast the head moves.
Think of it as energy per millimetre of travel. Slow the head down and each millimetre gets more time under the beam. Turn power up and each millimetre gets more light. Doubling power and doubling speed cancel out, roughly. The difference shows in the edge: slow and low tends to give a wide, dark, charred kerf because heat has time to spread; fast and high gives a cleaner edge. So the usual approach for cutting is the highest power the tube is comfortable with, and then the fastest speed that still gets through.
Focus matters as much as either. The spot is only small at one height. Move the material 2 mm closer or further from the lens and the spot grows, the energy spreads, and the cut gets wide and weak at the same time. Every job starts by setting the focus, usually with a little acrylic gauge that sits between the nozzle and the material.
Vector cutting
Cutting is the machine following a line at enough power to go all the way through. The head moves along the path in your file exactly once, and the part drops out of the sheet.
The file has to give the machine a path to follow, so this only works from vector geometry: lines, arcs and curves with a start and an end. A JPEG of a circle is not a circle to the laser. In most laser software a cut line is a thin stroke, often set to a hairline or 0.01 mm, and in a specific colour, red by convention, so the software knows to treat it as a cut.
A few habits that save sheets:
- Cut the inside features first, then the outline. Once the outline is cut, the part is loose and can shift, tilt or fall, and anything cut after that will land in the wrong place.
- Keep the file at 1:1. A 100 mm square must be 100 mm in the file. Check one dimension before you send anything.
- Close your paths. A path with a 0.1 mm gap in it is two paths, the part stays attached, and you have to cut it free by hand.
- Draw the slot narrower than the tab to allow for kerf. Kerf, explained covers how to measure and compensate.
Vector engraving
Vector engraving, which you will also hear called scoring, marking or line engraving, is exactly the same motion as cutting. The head follows the path once. The only difference is the settings: power comes way down, or speed goes way up, so the beam marks the surface without going through.
The result is a thin, crisp line, about a kerf wide, that follows your vector exactly. Because the head only travels along the line and never has to fill anything, it is fast. Scoring a hundred lines takes seconds.
Use it for:
- Fold and bend lines on card or leather.
- Outlines of lettering and line drawings, where a filled engrave would take far longer for a similar look.
- Labels and part numbers on the back of pieces before you cut them out.
- Alignment marks: score where a second part sits, or where a hole gets drilled later.
- Scoring almost through a sheet on purpose, so that a piece snaps out cleanly or a hinge bends.
Depth is adjustable. At very low power on plywood you get a light tan line that barely breaks the surface. Push the power up and you get a dark groove you can feel with a fingernail. Because the beam is going over the same line once, you get a consistent depth along the whole path, which is harder to achieve with raster.
The file convention is a thin stroke in a second colour, often blue, so the software applies a different power and speed to it than to the red cut lines.
Raster engraving
Raster engraving works like an inkjet printer. The head sweeps left to right across the area, drops down a fraction of a millimetre, and sweeps back. While it sweeps, the laser flicks on and off very quickly, firing where the image is dark and staying off where it is light. Each pass burns one thin row, and the rows stack up into a filled area.
This is the only mode that works from a picture. A photo, a filled shape, a logo with solid areas, text with filled letterforms: all raster. The software turns whatever you give it into a grid of dots at a resolution you set, usually somewhere between 200 and 600 dots per inch. Higher numbers give a smoother result and take longer, because the rows are closer together.
Grayscale is handled one of two ways. Either the power is varied as the head moves, so a dark pixel gets more energy than a light one, or the image is dithered into a pattern of full-power dots of different densities, the way newspapers print photos. On wood, dithering usually looks better, because wood does not shade smoothly with power; it goes from tan to dark brown quickly and then stops changing.
Raster is slow. The head has to cover the whole rectangle around your artwork, including the blank parts, one row at a time. A 100 × 100 mm filled square at 300 dpi is about 1,200 passes. The same square outlined with a vector score is four straight lines. This is why, when you only want the reader to see the shape, a score often does the job in a fraction of the time.
The result is shallow, typically well under a millimetre, and the surface is textured by the rows. On plywood the engrave shows the grain, because the softer bands burn deeper than the harder ones. On acrylic it comes out frosted white against the clear, and looks sharpest engraved from the back and viewed from the front.
The file convention is a filled shape or an embedded image, usually in black.
The three side by side
| Vector cut | Vector engrave | Raster engrave | |
|---|---|---|---|
| Input in the file | Thin stroke (red) | Thin stroke (blue) | Filled shape or image (black) |
| How the head moves | Along the path, once | Along the path, once | Back and forth across the area |
| Power | High | Low | Low to medium, varied or dithered |
| Speed | Slow enough to get through | Fast | Fast, but many passes |
| Time | Short | Very short | Long |
| Result | Part comes out | Thin line, about one kerf wide | Filled, textured, shallow area |
| Good for | Parts, holes, slots | Fold lines, outlines, labels, alignment marks | Photos, logos, filled text |
Putting all three in one file
A real job usually has all three. A box lid might have a raster-engraved logo, a scored border, and cut edges with finger joints. They go in one file, separated by colour, and the software runs them as separate operations with their own power and speed.
Order matters. Run them engrave, then score, then cut. Engraving first means the sheet is still flat and held down by its own weight while the slow, detailed work happens. Cutting last means nothing has moved by the time the parts come free. If you cut first, the part can drop a fraction of a millimetre onto the honeycomb, and the engrave that follows lands out of focus and out of place.
Finding settings
Settings depend on the tube, the lens, the material, and even which sheet of plywood you picked up, so a number from a forum is a starting point at most. Run a test grid on any new material before you commit a real part to it.
- Draw a grid of small squares, say 10 × 10 mm, with power stepping up along one axis and speed stepping up along the other.
- Set each square as a separate raster engrave with its own settings. Add a short score line and a small cut circle beside each row at matching settings.
- Run it, then look at the back of the sheet. The lowest power and highest speed that cut cleanly through is your cut setting. Pick the score and engrave squares that look the way you want.
- Write the numbers on the sheet and keep it beside the machine.
Materials and safety
The machine cuts things that absorb infrared and turn to gas cleanly: plywood, MDF, solid wood up to a few millimetres, acrylic, card and paper, leather, cork, felt. It will not cut metal at the power levels we have, and it will not cut glass, though it will engrave both.
Some materials are never allowed in the machine, whatever the sign on the sheet says:
- PVC and vinyl. Burning PVC releases chlorine gas, which will hurt you and corrode the machine. If a plastic is unlabelled, treat it as PVC until proven otherwise.
- Polycarbonate (Lexan). It absorbs the beam badly, catches fire, and leaves a yellow, melted mess.
- ABS and fibreglass. Toxic smoke, poor results.
- Anything with a mirror or metallic finish. The beam reflects back up into the lens.
- Anything you cannot identify.
The first sign that something is wrong is usually smell. If the room smells sharper or more chemical than the usual toasted-wood note, stop and find out why.