 learndesign
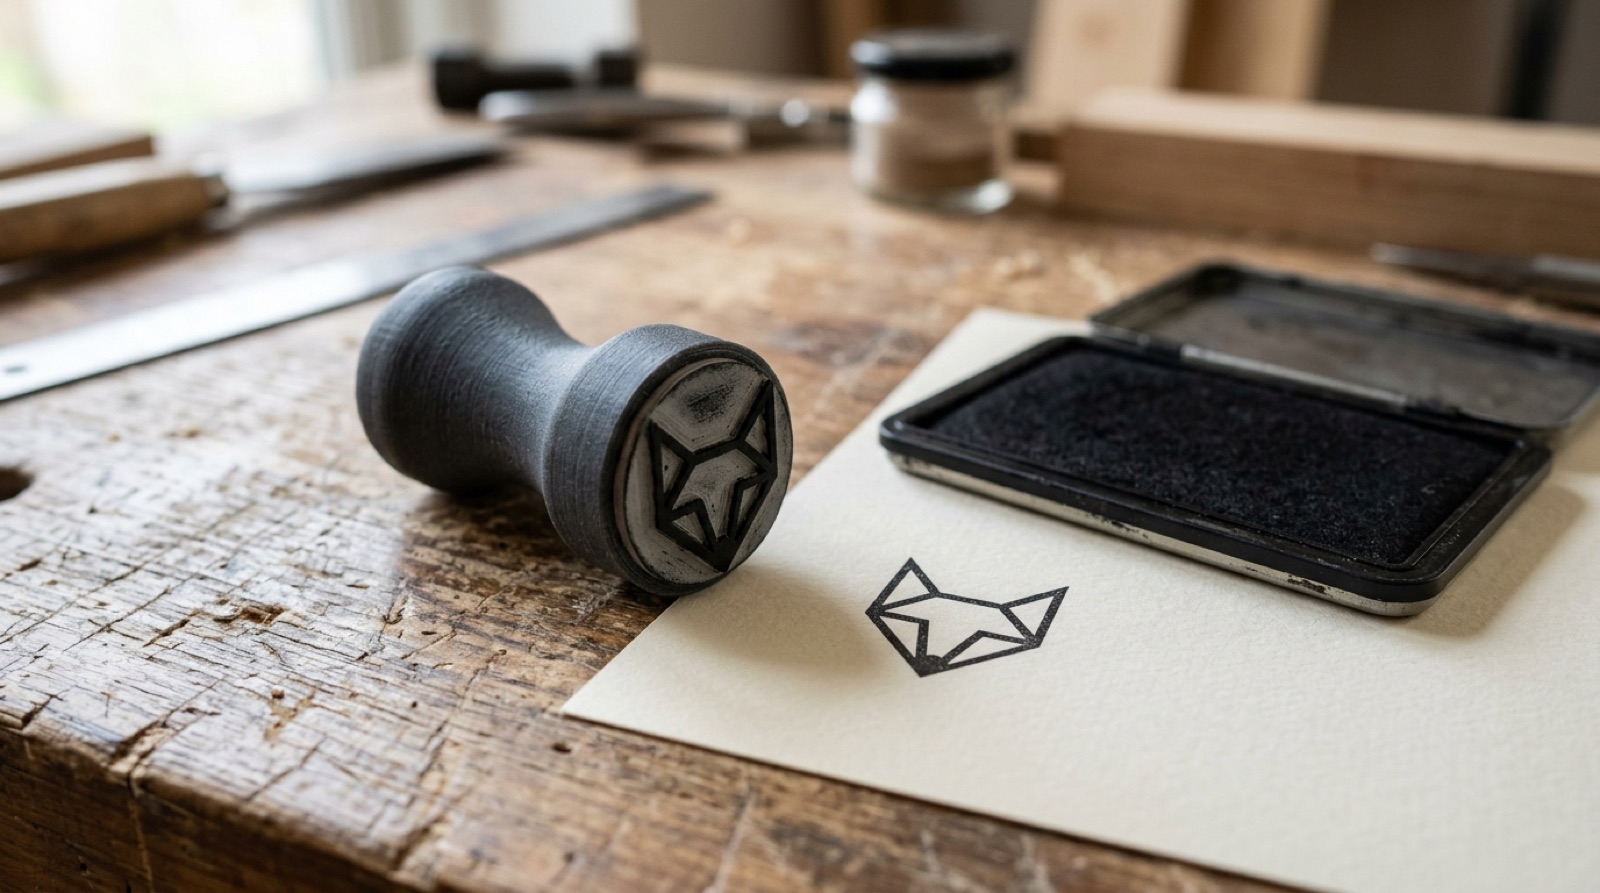
A custom rubber stamp
Engrave a stamp die into laser rubber on the Trotec Speedy, then design and print a handle that fits your hand and tells you which way is up. Artwork, mirroring, shoulder angles, ergonomics, and ten clean impressions.
Overview
A stamp is a small manufacturing system. The die carries a design in relief; the handle carries the die and your hand. Both have to be right or the impression is smeared, upside down, or half missing. This project makes the die on the laser and the handle on the printer, and the test is simple: ten impressions in a row, all clean.
Design something you will actually use. A monogram, a return address, a maker’s mark for your projects, a stamp for the shop that says a tool has been checked, a logo for a club. Text plus one graphic element is plenty. Fine detail does not survive the transfer from rubber to paper, so bold wins.
The handle is where the design thinking is. It has to fit the die, fit the hand, and make orientation obvious without looking: a flat, a notch, a printed arrow, or a shape that only feels right one way round. Most bought stamps get this wrong. Yours won’t.
Skills needed
- Vector artwork for a stampSolid shapes, minimum line width, no fine hatching, and why the design has to be mirrored before it goes to the laser.
- Engraving laser rubber on the Trotec SpeedyStamp mode with shoulders, inverted engraving, power and speed for 2.3 mm rubber, air assist and extraction. Ruby or JobControl.
- Modelling a handle in FusionDie size and grip dimensions as parameters; a base that matches the die footprint with 1 mm to spare.
- Designing for FDM printingFlat base down, no support inside the grip, and a solid top face for the orientation mark.
- Ergonomics of a handheld toolGrip diameter, height for a fingertip or palm hold, and how to make the correct orientation obvious by feel.
Assessment
- Artwork. Bold, readable at stamp size, within the line-width limits, and correctly mirrored so it reads right on paper.
- Die. Clean engraving to full depth with shoulders on the raised edges, no scorching on the printing surface, washed free of dust, trimmed square.
- Handle. Base matches the die with about 1 mm margin, grip fits a hand and states its orientation. Printed cleanly with the base flat.
- Impressions. Ten in a row, even ink, no smear, all the right way up. The last one looks like the first.
- Spec card. Complete enough that someone could make another one.
Deliverables
- The artwork, as it will read on paper and as the mirrored, inverted laser file
- The engraved rubber die, washed and trimmed
- The printed handle with the die mounted
- Ten impressions on paper, all clean and the right way up
- A spec card giving die size, laser settings used, print settings, and one sentence on the ergonomic choice
Materials
- Laser rubber, 2.3 mm, odourless grade (one 60 × 60 mm piece per person plus a test strip)
- Stamp mounting foam, double-sided, 2 to 3 mm
- PLA or PETG, roughly 40 g per handle
- Stamp pad, paper, soft brush, dish soap
- Calipers
Steps
Lesson 1: Artwork and laser file
- Sketch the design on paper at real size, then scan or redraw it as vectors in Illustrator or Inkscape. Solid fills only. Convert text to outlines.
- Check line widths with the measure tool. Anything under 0.5 mm gets thickened or removed.
- Make the laser version: mirror it horizontally. Then invert: the laser engraves away what is black, so the background is black and your design is white. Add a thin cut line around the outside for the die outline.
- Measure the die outline with the ruler tool and write it down. The handle needs it.
Lesson 2: Engrave
- Load a test strip of laser rubber on the Speedy. Focus. Turn on air assist and check the extraction is running; rubber dust and smell are the reason.
- In Ruby or JobControl, choose the rubber / stamp material setting and turn shoulders on. Shoulders give each raised edge a slope so it stands up to pressure. Starting point on the 60 W: engrave at full power, speed around 25–35%, 500 dpi, with a second pass if the depth is under 1 mm. Cut the outline at low speed.
- Run the test strip. Check depth with calipers and look at the edges under a loupe. Adjust and note the settings that worked.
- Engrave the real die. Wash it in warm water with dish soap and a soft brush until no dust comes off. Dry it. Trim to the cut line if needed.
- Ink it and stamp it on paper, once, by hand. If anything is filled in or missing, fix the artwork now, before the handle.
Lesson 3: Handle
- Measure your grip: the width across your closed fingers, and whether you want to hold it by fingertips or palm. Typical knobs are 30–40 mm across and 40–60 mm tall.
- In Fusion, set parameters:
die_width,die_depth,grip_diameter,grip_height. Model a base plate at die size plus 1 mm each side, 6 mm thick, and the grip on top. - Add the orientation cue: a flat on one side, a notch, or an arrow printed as a raised feature on the top face. Fillet every edge the hand touches.
- Print base down, no supports. Check the base is flat and the die fits.
- Mount the die with stamp foam, aligned so the orientation cue points to the top of the design. Ten impressions. Photograph them.
- Fill in the spec card.
Stretch options
- A two-part handle with a captive spring so the die retracts.
- A set of dies that share one handle, with a slot instead of foam.
- A date stamp: interchangeable rubber strips in a channel.