 learndesign
A DIY speaker
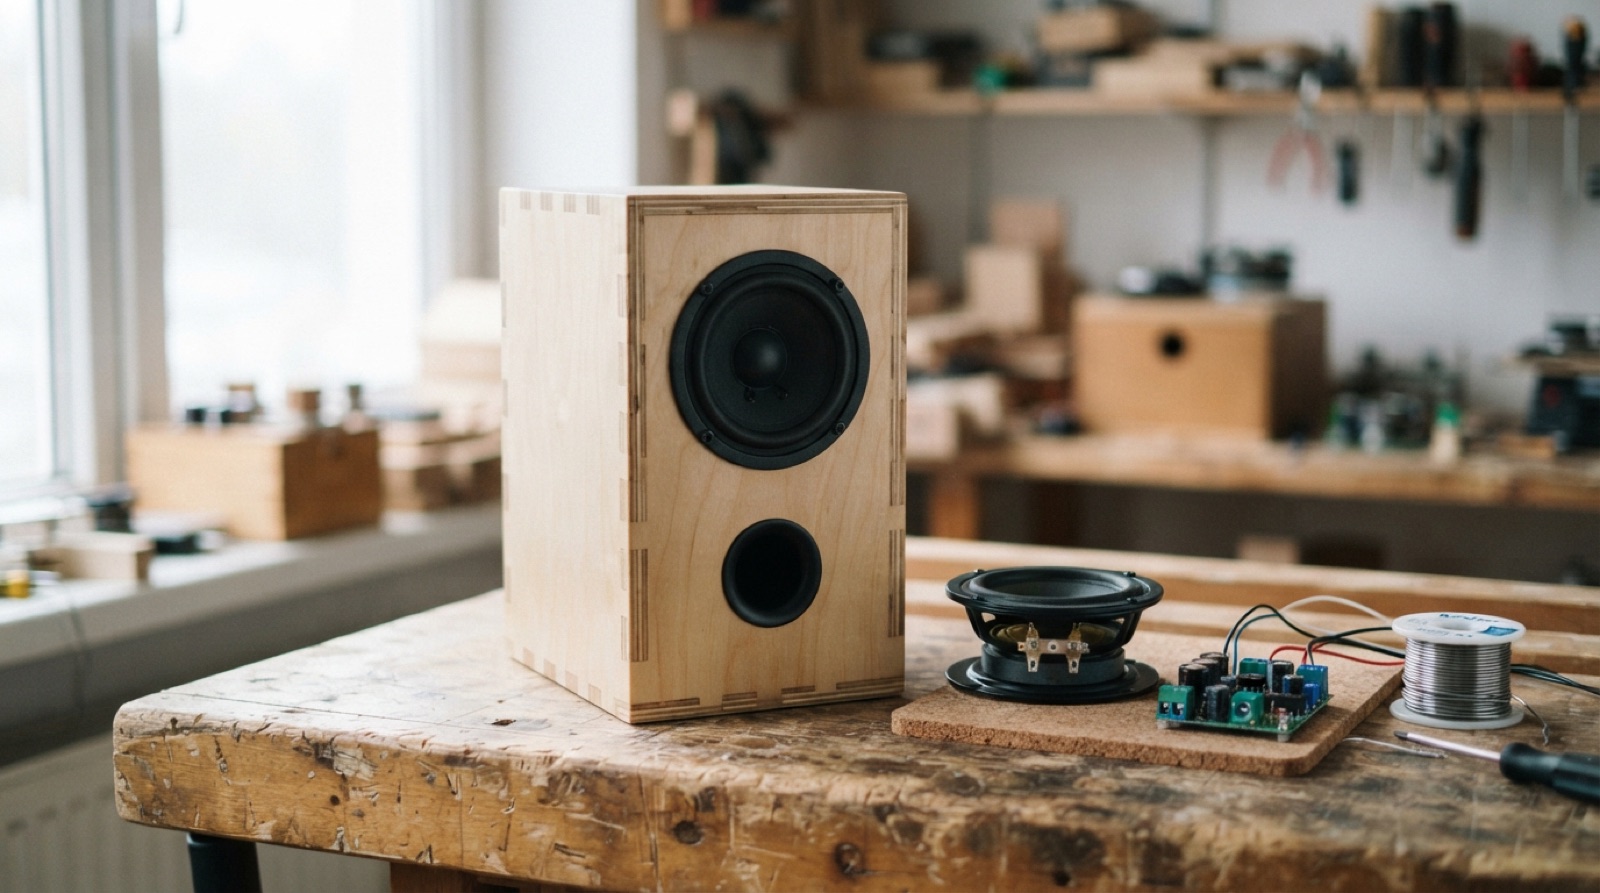
Design and build a small speaker from a driver, an amplifier board and a box you designed for that driver. The box is the product. Its volume, its port and its stiffness decide how it sounds as much as the driver does.
Overview
A speaker is a driver in a box, and most of what people hear is the box. Put a good driver in a leaky, rattling, undersized cabinet and it sounds like a phone. Put a cheap driver in a box of the right volume, sealed tight, with a brace and a bit of stuffing, and it sounds like a product. The driver costs twenty dollars. The design is the rest.
This project designs the box for the driver. Read the driver’s numbers, decide sealed or ported, calculate the volume, model a cabinet that hits it with stiff walls and a proper driver cutout, and build it in plywood, print or both. Add a small amplifier and a power source, wire it cleanly, close it up. Then measure it, because the graph will tell you things your ears will not, and listen to it, because the graph will not tell you everything.
The best builds get one comparison in: sealed against ported, or stuffed against empty, or a brace against none. That is where you learn what the box is doing.
Skills needed
- How a speaker worksresource comingA driver moves air; the box stops the back wave cancelling the front. Sealed for tight bass in a small box, ported for more bass from the same driver if you get the tuning right.
- Choosing a driver and reading its numbersresource comingFull-range 2" to 4" drivers for a first build. Fs, Vas and Qts on the datasheet tell you what box it wants; an online box calculator does the arithmetic.
- Designing the enclosureInternal volume from the calculator, walls 9 to 12 mm, a brace across the biggest panel, a port sized and tuned, a driver cutout with a rebate.
- Amplifier and powerA small class-D board (PAM8403 for 3 W, TPA3116 for more), a 3.5 mm input or a Bluetooth module, a USB or lithium battery supply with a protection board.
- Soldering and wiringresource comingTinned leads, heat shrink, strain relief, polarity right on both channels. A speaker wired backwards on one side cancels bass.
- Listening and measuringresource comingA frequency sweep from a phone and a measurement app, played through the box and heard. Sealed versus ported, port open versus stuffed. Trust the graph over the feeling, then check the feeling.
Assessment
| Criterion | Developing | Proficient | Exemplary |
|---|---|---|---|
| Spec and driver choice | A driver picked by looks | Driver’s parameters read and used; box type chosen with a reason | Trade-offs stated: what this box gives up and why that is right for the use |
| Enclosure design | Volume guessed; no brace; driver hole rough | Volume from the numbers, brace placed, rebate and gasket, port tuned | Parametric model that regenerates for another driver; internal shape reduces standing waves |
| Build | Leaks, rattles, gaps, glue everywhere | Sealed, stiff, clean joints, finish applied | Looks and feels like a product; nothing buzzes at full volume |
| Electronics | Works with help; bare wires | Wired to the diagram, polarity right, secured, strain relieved | Power management thought through; boot and charge behaviour sensible |
| Measurement | Listened only | Sweep recorded; one A/B comparison with a result | Comparison changes the design and the change is measured |
| Record | Photos | Spec, diagram, sweep, notes | Someone else could build it from the record |
Deliverables
- [object Object]
- The Fusion model with internal volume, wall thickness and port as parameters, and the laser or cut files
- The built speaker, finished, driver rebated and sealed, electronics mounted, no exposed wiring
- A wiring diagram and a photo of the inside before it closed
- [object Object]
- A short listening note in plain words, and one change for v2
Materials
- One or two full-range drivers, 2" to 4", 4 or 8 ohm, with a datasheet; or a woofer and tweeter with a crossover if you want the harder version
- Class-D amplifier board (PAM8403, TPA3110 or TPA3116), 3.5 mm jack or a Bluetooth audio module, a potentiometer or a volume board
- USB-C power or a single lithium cell with a protection and charging board and a switch
- 6 mm or 9 mm plywood or MDF for the box, or PETG for a printed shell; PVC pipe or a printed tube for the port
- Polyester fibre fill or acoustic foam, foam gasket tape, wood glue, M3 screws and heat-set inserts
- Solder, heat shrink, 22 AWG wire, spade connectors or a small terminal cup
Steps
Week 1: Driver, box type, numbers
- Pick the driver. A 3" full-range is a good first build: cheap, forgiving, no crossover. Download the datasheet. Find Fs, Qts and Vas.
- Decide sealed or ported. Qts above about 0.5, or a small box, wants sealed. Qts below 0.4 with room for a bigger box can be ported for more bass. Sealed is easier to get right.
- Put the numbers in a box calculator. Record the recommended internal volume and, if ported, the port diameter and length for the tuning frequency it suggests.
- Decide the amplifier and power: PAM8403 on USB power for a small desk speaker; TPA3116 and a lithium pack for something louder. Decide the input: a jack, or a Bluetooth module.
- Write the spec on one page.
Week 2: Design the box
- In Fusion, set parameters: internal width, height, depth (volume as a computed parameter), wall thickness, driver cutout diameter and rebate, port diameter and length.
- Model the box. Subtract the volume the driver’s magnet, the port tube and the brace take up; add it back with size. Put the brace across the largest panel, with holes so air moves.
- Design the driver cutout with a rebate so the driver sits flush, and a gasket groove or a flat for foam tape. Round the baffle edges.
- Add the electronics: a mounting plate or standoffs for the amp board, a hole for the jack and the switch, a compartment or a sealed pass-through for the cable.
- Export: laser files for a finger-jointed plywood box, or print files for a shell. Check the joints allow for kerf.
Week 3: Build and wire
- Cut or print the parts. Dry-fit the box. Check the driver drops into its rebate.
- Glue up all but one panel. Fit the brace. Seal the inside seams with a bead of glue or caulk. Fit the port tube, sealed.
- Mount the amp, the jack, the switch and the power. Solder the driver leads with the polarity marked. Heat-shrink every joint. Strain-relieve every cable at the wall it passes through.
- Add stuffing: loosely fill a sealed box; line the walls of a ported one, keeping the port clear.
- Fit the driver on a gasket, screwed into inserts or through-bolted. Close the last panel with screws so it can open, on a foam seal.
Week 4: Measure, compare, finish
- Play a sine sweep from 40 Hz to 20 kHz through it, with a measurement app on a phone 30 cm from the driver. Save the graph.
- Make one comparison: pull the stuffing out and sweep again; block the port and sweep again; remove the brace if it is removable. Record what changed.
- Turn it up. Put a hand on every panel and on the port. Fix any buzz, leak or rattle.
- Sand, finish, add feet. Label the input and the switch.
- Write the listening note: three tracks, what is good, what is missing, and the one change for v2.
Stretch options
- Two-way: a woofer and a tweeter with a simple crossover, and a sweep to show what the crossover did.
- A stereo pair with a shared amplifier and a cable between them.
- A concrete-cast enclosure in a printed mould, and the sweep compared to the plywood version.
- A passive speaker for a phone: no electronics, just a horn shaped to make the phone’s speaker louder, tested with the sweep.