 learndesign
Laser-cut maps with Illustrator
Pull real street data out of OpenStreetMap as vectors, turn the roads into cuttable shapes in Illustrator, and decide whether the roads are the wood or the gaps before you send it to the laser.
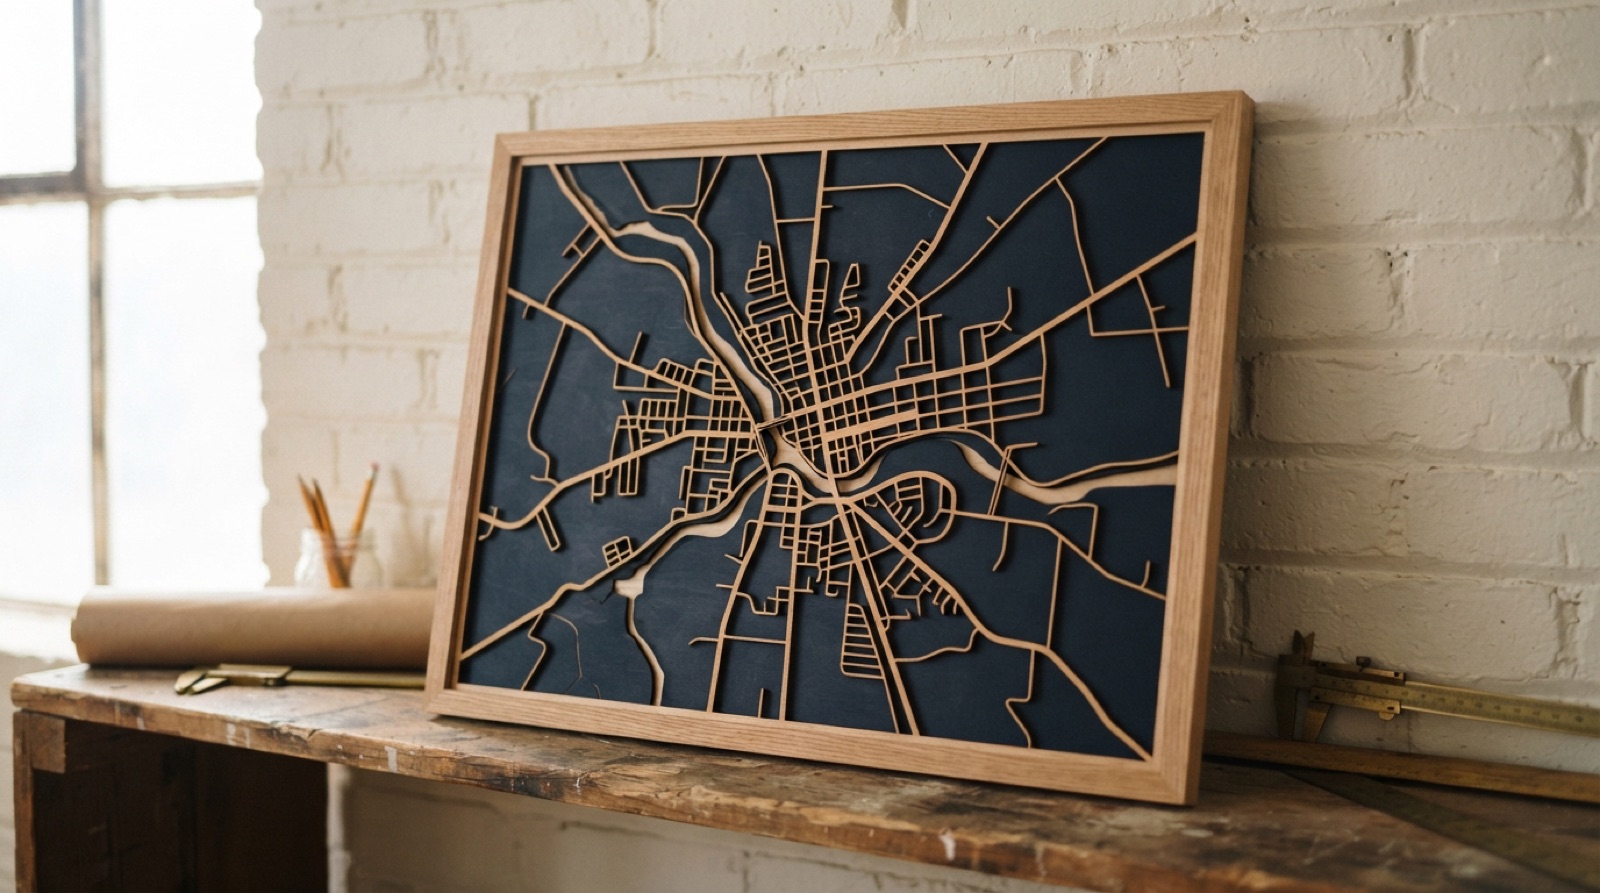
A street map is a good laser project because the data already exists as vectors. Nobody traces a town by hand. The work is choosing an area, getting it into Illustrator, and turning thousands of thin lines into shapes a laser can cut without the whole thing falling apart.
Get the vectors
Two routes, depending on how much of the map you want.
Roads only, fast. city-roads draws every road in a town from OpenStreetMap. Search the place, wait for it to load, then use the export menu to save an SVG. Big cities are slow; pick a town or a neighbourhood. Everything comes in as one layer of strokes.
Roads, water, buildings, parks. Maperitive exports OpenStreetMap data as an SVG made for Illustrator, with features split into layers. QGIS does the same job and can save a DXF. Both take longer to learn; use them when water or buildings matter to the design. The export tab on openstreetmap.org also makes an SVG, but it is a single clipped mess and not worth the cleanup.
Clean up in Illustrator
- New document in millimetres at the finished size of the map. Place the SVG and scale it to fit. Lock the scale down now; everything after this depends on it.
- Draw a rectangle for the frame and delete everything outside it: select all, then Object → Clipping Mask → Make, then Object → Expand, or use Pathfinder → Crop.
- The roads are strokes with no width the laser understands. Select them all and set the stroke width: 1.5 to 2 mm for main roads, 0.8 to 1 mm for the rest. Use Select → Same → Stroke Weight if the export kept the road classes apart.
- Object → Path → Outline Stroke turns every stroke into a filled shape. Then Pathfinder → Unite merges them into one network.
- Zoom in and look for slivers: tiny closed shapes where two roads nearly meet, dead-end stubs under 2 mm. Delete them. They fall out of the cut or scorch.
Decide what is wood
This is the design decision the data cannot make for you.
Roads are the wood. Cut around the road network and the blocks between them fall out as waste. The roads stay connected to each other and to the frame, so the piece holds together on its own. This is the usual laser-cut map look. Roads need to be at least 1.5 mm wide to survive in 3 mm plywood. Glue it to a contrasting backboard or let it float in a frame.
Roads are the gaps. Cut the roads out as slots and the blocks stay. Any block fully surrounded by roads is an island and will drop out, so this only works if the roads are engraved rather than cut, or the blocks are glued down to a backing sheet before anything is lifted off the bed. Engraving the roads and cutting only the outline and the water is the easy version.
Water goes on its own layer. Cut it out and back it with blue card, or engrave it with a fill.
Export and cut
- Cut lines in one colour, engraving in another, every path a hairline stroke. Save as SVG or PDF, fonts outlined.
- Measure one known street in the laser software against the Illustrator file before cutting.
- Test on card first. A map has a lot of cut length and a mistake in the stroke width shows up as an hour of wasted laser time.
Related
- Laser-cut topographic layers is the same idea in three dimensions.
- Kerf, explained for why 1.5 mm roads come out closer to 1.3.