 learndesign
Laser-cut topographic layers
A landscape as a stack of plywood contours. Two routes to the cut files, one through a terrain model and Fusion's slicing template, one through real contour lines in QGIS and Illustrator, plus how to pick the vertical scale so Ontario does not come out flat.
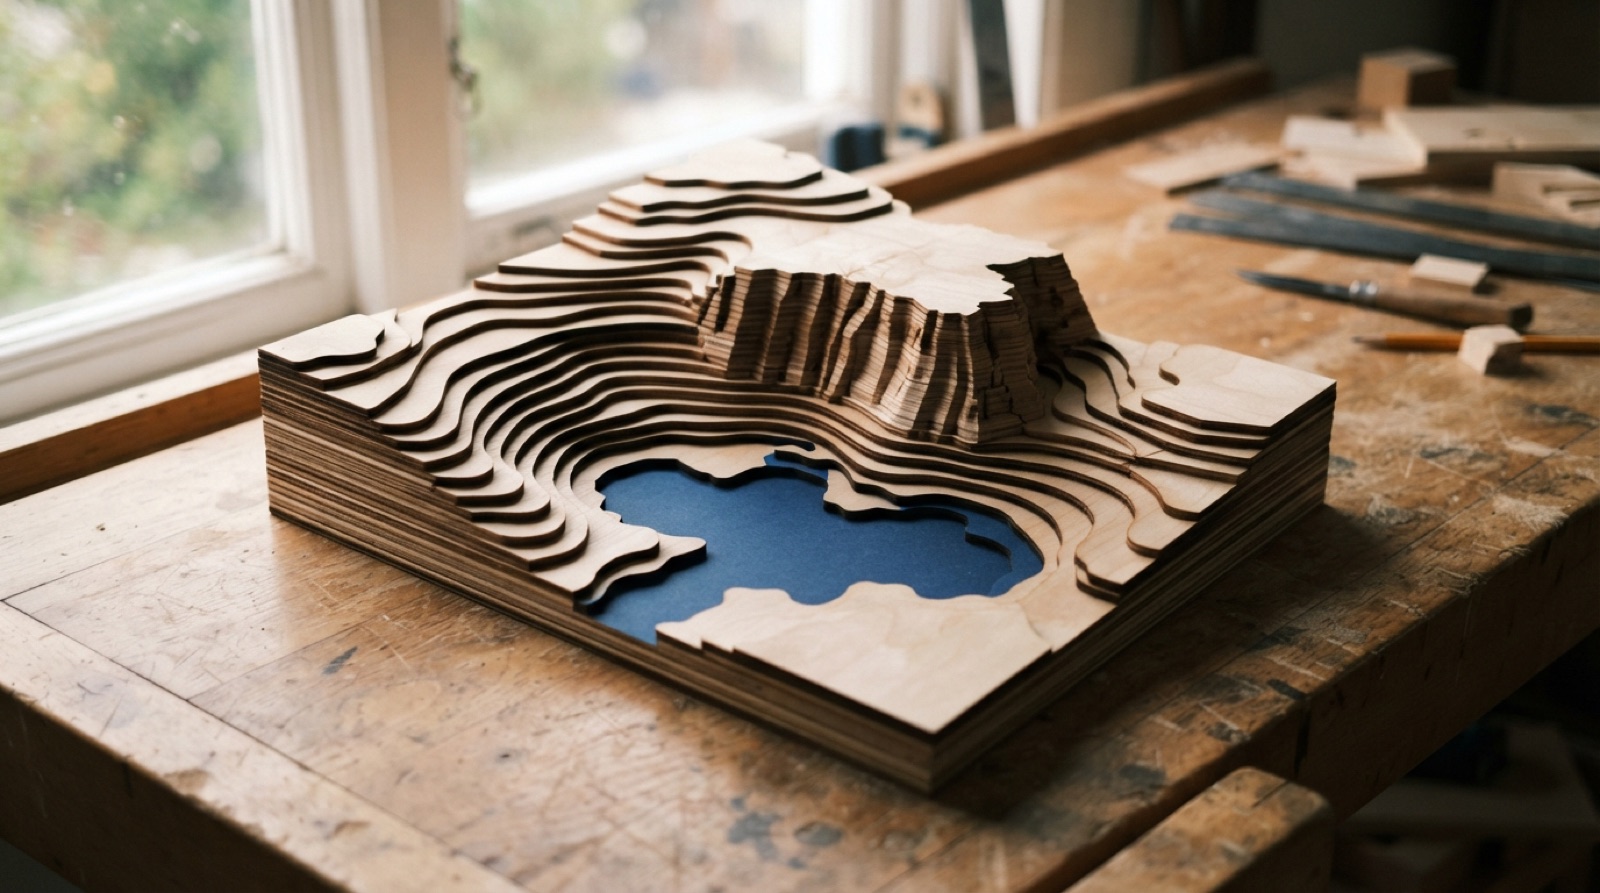
A topographic model is lamination with a reason. Each sheet is one contour, the stack is the land, and the stepped edges that are a side effect on a sliced vase are the whole point here. There are two ways to get the layer outlines. The 3D route uses tools already on this site. The contour route gives you real map lines and is the one to use if the model has to be accurate.
Pick a scale first
Ontario is low. A 200 mm model of a 10 km square is 1:50 000, and at that scale a 3 mm sheet stands for 150 m of height. Most of the province has less relief than that, so the model would be one layer. Exaggerate the vertical. A 10 m contour on each 3 mm sheet is 15× exaggeration and looks right for a display piece; the Niagara Escarpment at that scale is a wall ten layers high, which is what it feels like.
Decide: area (a lake, a valley, a town and its hills), model width, number of layers you can cut and glue. Eight to twelve layers is a good size. The contour interval follows from the total height divided by the layer count.
Route A: terrain model and the slicing template
- Go to TouchTerrain. Draw a box over your area. Choose the ALOS 30 m dataset for Canada, set the tile width to your model width, the z-scale to your exaggeration, and a base thickness of 3 mm. Export the STL.
- In Fusion, Insert → Insert Mesh. Terrain STLs are heavy; Mesh → Modify → Reduce to under about 10 000 faces, then Mesh → Modify → Convert Mesh to get a solid body.
- From here it is the slicing and lamination workflow: insert the slicing template, Split Body with the planes, Create Components from Bodies, Arrange on a 600 × 300 mm envelope, project to a sketch, Save as DXF.
The result is a stepped model of the real terrain, but the steps are at whatever height the planes happen to fall, not at round contour values, and small features get lost in the mesh reduction. Good enough for a display piece; not a map.
Route B: contours from QGIS
- Get elevation data. The Ontario Digital Terrain Model (lidar-derived) on Ontario GeoHub is detailed enough for a single valley. For a bigger area the Canadian Digital Elevation Model is lighter. Download the tile covering your area as a GeoTIFF.
- In QGIS, drag the GeoTIFF in. Raster → Extraction → Contour with your interval, 10 m say.
- Vector → Geometry Tools → Simplify with a tolerance of a few metres so the laser is not tracing every lidar bump, then smooth if the lines look jagged.
- Drop the tiny closed contours (a few metres across) that come from single trees or buildings: Field Calculator for
$length, select everything under a threshold, delete. - Export the layer as DXF or SVG and open it in Illustrator.
Build the layer files
Each sheet is one contour, cut out, with the next contour up engraved on it as a guide for where the next sheet goes.
- In Illustrator, one artboard per layer, lowest first.
- Layer 1 carries contour 1 as a cut line in the cut colour, and contour 2 as an engrave line in the engrave colour. Layer 2 carries contour 2 cut and contour 3 engraved. Carry on up.
- The lowest layer gets the frame as its outer edge; the rest are the contour shape alone.
- Water: cut the lake out of the lowest layer it reaches and back it with coloured card, or engrave a fill.
- Two small holes through the whole stack, placed where every layer has material, take dowels that keep the layers lined up while the glue sets. Add them to every artboard at the same coordinates.
Cut and stack
- Cut the lowest layer first and check it against the plan before cutting the rest. Number the back of each piece as it comes off.
- Dry stack on the dowels. Then glue one layer at a time, set it to the engraved guide, and weight it.
- Sand nothing. The steps are the map.
A contour model is also a good candidate for the Arrange command: ten odd-shaped contours fit one sheet much better nested than in a row.