 learndesign
A set piece for the stage
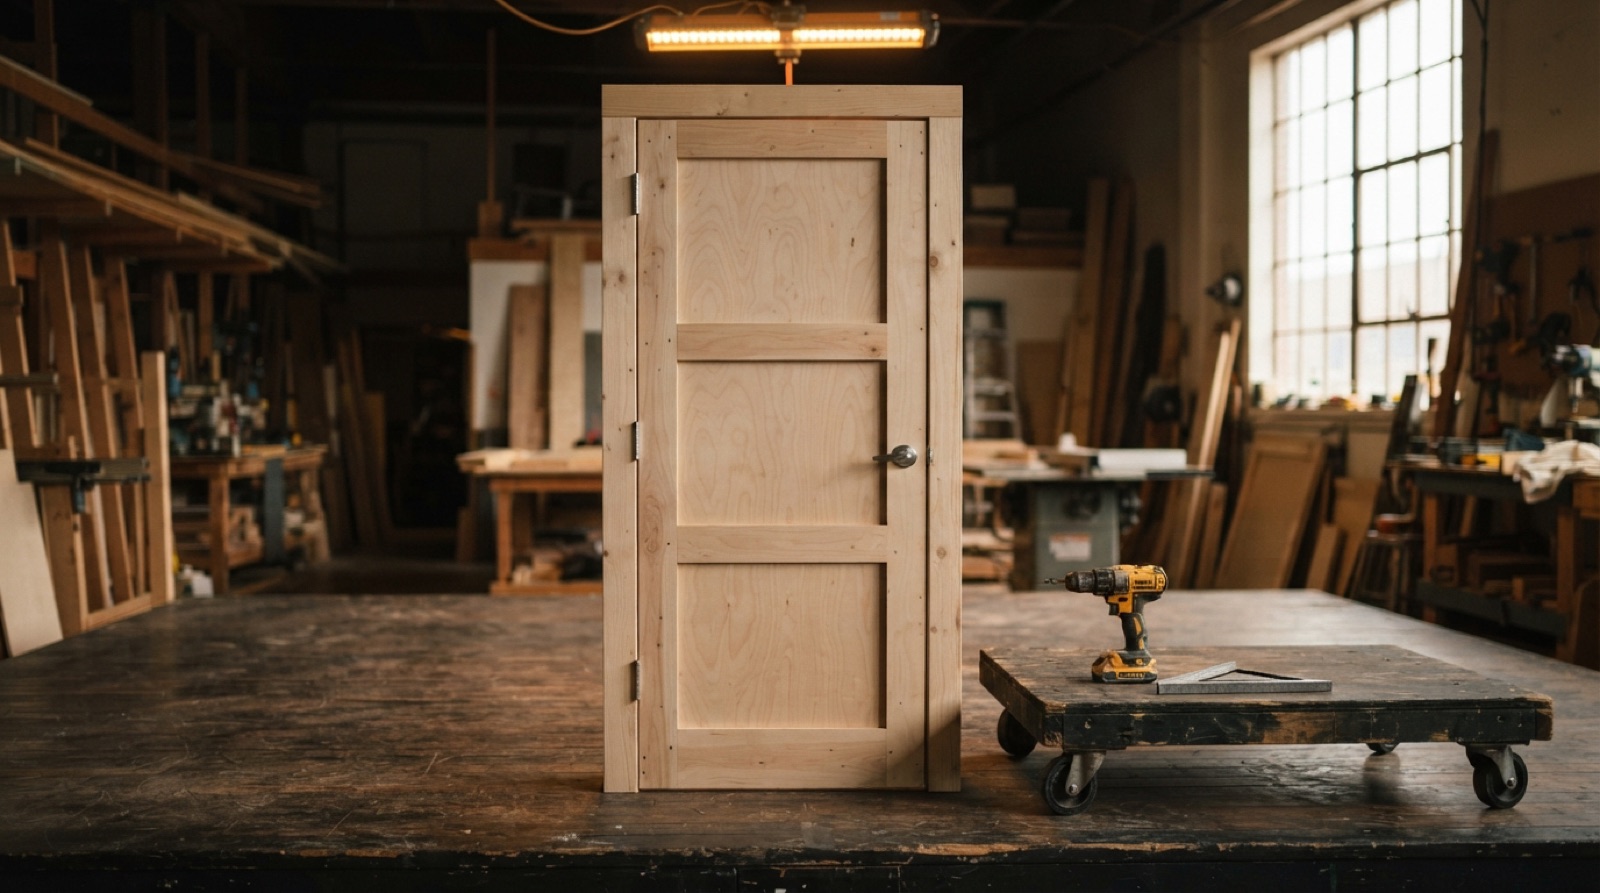
Design and build one full-size piece of scenery that a production can actually use. A door unit, a window flat, a platform, a rolling wagon, a staircase. It has to look right from the seats, hold the people who use it, move on and off in the dark, and come apart to fit through a door.
Overview
Scenery is furniture that lies about what it is and has to survive people who are not paying attention to it. A door unit gets slammed eight shows a week. A platform carries six actors and a piano. A wagon rolls on in a blackout, pushed by two people who cannot see, and stops exactly on its mark. Then at the end of the run it comes apart in an afternoon and goes in a truck.
That is the design problem. The piece has to read from the back row as what it represents, and it has to be built like equipment. Light, because people carry it. Strong, because people stand on it. Modular, because it has to fit through a standard door and store flat. Finished on the side the audience sees, and labelled on the side they do not.
Pick a piece a real or imagined production needs: a door in a wall, a window, a 4 × 8 platform with legs, a stair unit to a platform, a rolling wagon with a rail, an archway, a bar or a counter. Design it for the show, build it to the standard, test it with weight, and hand it over with a card that says how to move it.
Skills needed
- Reading a production's needsWhat the script and the director need the piece to do, who touches it, how it enters and leaves, where it lives when it is not on stage.
- Theatrical framingFlats from 1×3 on edge with a lauan skin; platforms from 2×4 frames and 3/4" ply; legs, bracing, and how stagehands actually join these things.
- Load and stabilityA platform holds the people on it plus a margin; a flat stands up to a slammed door; a wagon does not tip when someone leans on the rail. Numbers, then a test.
- Modelling and cut lists in FusionThe piece as an assembly of standard parts, with a cut list and a sheet layout you cut from.
- Casters, hinges and hardwareLocking swivel casters, loose-pin hinges for knock-down joints, coffin locks, T-nuts, and which screw goes where.
- Scenic finishBase coat, texture, and paint that reads as wood, stone or plaster from ten metres. Laser-cut mouldings and stencils where they help.
Assessment
| Criterion | Developing | Proficient | Exemplary |
|---|---|---|---|
| Brief | Vague piece, no production context | Uses, users, entrances and storage defined; deadline realistic | Brief anticipates a problem in the show (a fast change, a heavy prop) and the design solves it |
| Drawing | Sketch only | Plan, elevation, section at scale; audience view sketch | Section shows the joint design; drawing could be built by someone else |
| Construction | Loose joints, twisted frame, screws through the face | Square, tight, standard framing done right, fasteners hidden from the front | Lighter than it needs to be without losing strength; breaks down and reassembles in minutes |
| Load and stability | Untested or fails | Meets the load and push tests, recorded | Tested beyond spec with the margin recorded; deflection measured |
| Finish | Raw or one flat coat | Base, tints and texture that read from the seats | Reads as the material it imitates from 3 m; detail placed where the light hits |
| Handling card | None | Weight, break-down steps, brakes, people needed | Storage plan and a repair note for the parts most likely to break |
Deliverables
- A brief from the production: what the piece does, who uses it, entrances, storage, and the deadline it would have to meet
- A concept sketch from the audience and a technical drawing with plan, elevation and section at scale
- The Fusion assembly, cut list, sheet layout and hardware list
- The built piece, painted, with casters or knock-down joints working
- A load and stability test record with photographs
- A handling card fixed to the back: weight, how it breaks down, how many people to move it, where the brakes are
Materials
- 1×3 and 2×4 SPF lumber; 1/4" lauan or 1/8" hardboard for skins; 3/4" plywood for platform tops and stair treads
- Wood glue, 1 1/4" and 2 1/2" screws, corner blocks and keystones from 1/4" ply, staples for skins
- Locking swivel casters rated for the load, loose-pin hinges, coffin locks or bolts with T-nuts, a door and hinges if the piece needs one
- Primer, flat scenic paint in a base and two tints, texture medium, brushes and rollers
- 1/8" plywood or MDF for laser-cut mouldings, rosettes, and stencils
Steps
Week 1: Brief and drawing
- Choose the piece and the production. If there is no real show, write one paragraph of the scene it serves. Who goes through the door, who stands on the platform, how fast does it have to leave the stage.
- Look at how it is done: standard flat construction, platform framing, stair stringers, wagon bases. Learn the names of the joints before you invent your own.
- Draw it from the audience. Then draw the plan, an elevation and a section at 1:20, with the framing shown in the section. Decide the break-down: where the components separate and how they join.
- Do the numbers. Load per platform leg. Where the brace goes on a flat. Where the centre of mass is on a wagon with a person leaning on the rail. Choose casters with a rating above the load.
Week 2: Model and cut list
- Model the piece in Fusion as an assembly of components, each component its own body group. Use the actual stock sizes: 1×3 is 3/4" × 2 1/2".
- Model the joints: corner blocks, keystones, toggle rails, legs bolted through the frame, the hinge positions. Model the hardware as reference bodies so the holes land in the right places.
- Generate the cut list by part, with length and count. Lay the sheet parts out on 4 × 8 sheets and check the yield.
- Draw any laser-cut moulding, rosette or stencil at full size, nested on the sheet.
- Get the drawing and cut list checked against the constraints before cutting anything.
Week 3: Frame
- Cut all lumber to the list. Label every piece with its part name.
- Build frames flat on the floor or a bench, square measured on the diagonals, glued and screwed with corner blocks. A twisted frame never comes back.
- Skin flats with lauan, glued and stapled, trimmed flush. Top platforms with 3/4" ply, glued and screwed on a grid.
- Fit legs, braces, stringers and rails. Fit the hardware: hinges, bolts, T-nuts, casters. Assemble the full piece and check it stands, rolls and locks.
- Break it down and reassemble it, timed. Fix any joint that fights.
Week 4: Finish
- Fill screw holes and seams on the audience side. Sand. Prime.
- Base coat in the flat scenic colour. Then texture: a wet blend, a spatter, a dry brush, a wood grain. Step back ten metres after each layer. Detail that looks great up close often disappears or gets noisy under light.
- Apply laser-cut mouldings, stencils or a wallpaper pattern where the audience will see them. Paint the back a flat dark colour.
- Load test on the floor: weights spread on a platform, a person jumping, a push at the top of a wagon, a door slam on a unit. Measure any deflection with a straightedge. Record it.
Week 5: Hand over
- Write the handling card: total weight, component weights, break-down order, number of people to carry each piece, where the brakes are, what to check before each use. Fix it to the back.
- Store it: flats stacked face to face, platforms on edge, hardware bagged and labelled and taped to the piece.
- Present it under work lights from the seats, then from the back with the card.
- One paragraph on what a second version would change, from the tests and the build.
Stretch options
- Design a family: three flats that share one framing pattern and join into a wall with a door and a window.
- A wagon with a hidden step and a rail that folds, and time the change on and off with two people in the dark.
- Build the same piece in a lighter material, such as a hollow-core skin on a frame, and compare weight and stiffness.
- Add a practical: a working light switch and lamp, or a doorbell, wired safely inside the piece.