 learndesign
Laser cutting meets 3D printing, a stamp
Engrave a die into laser rubber, print a handle that fits it, and you have a tool that neither machine could make alone. Artwork rules, mirroring, Speedy settings and a Fusion handle in one short walk-through.
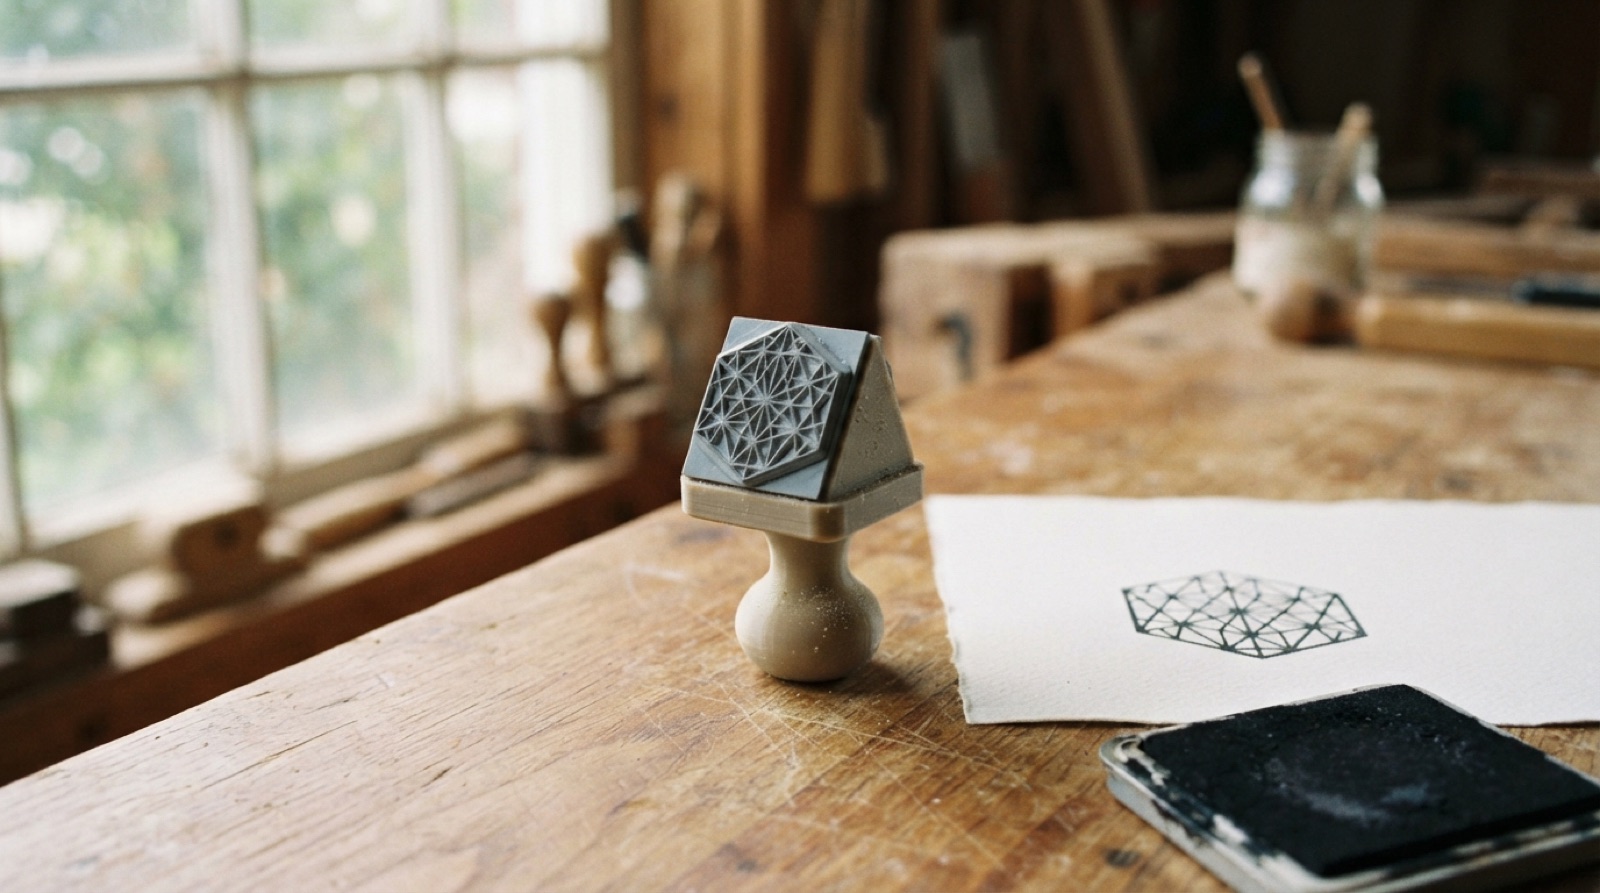
The laser is good at surfaces. The printer is good at forms. A rubber stamp needs both: a flat die with a design in relief, and a handle shaped for a hand. Do the die on the laser and the handle on the printer and each machine does the part it is best at. The same split works for a lot of display work: a laser-cut face with a printed clip, hinge, pin or foot behind it.
For the full project brief, see A custom rubber stamp. This page is the technique.
Artwork
- Draw the design at real size, in Illustrator or Inkscape. Solid fills only, text converted to outlines. Keep the die under 50 × 50 mm.
- Nothing thinner than 0.5 mm, and no gap between raised areas under 0.5 mm. Thin lines break off the rubber; thin gaps fill with ink.
- Mirror the whole design horizontally. The die is a reflection of the print. Read any text in the file backwards before you go on.
- Invert it. The laser removes what is black, so the background goes black and the design goes white. Add a thin outline around the edge in the cut colour.
- Measure the outline and write the size down. The handle is built from it.
Engrave on the Speedy
- Load laser rubber, 2.3 mm, on a test strip first. Focus. Air assist on, extraction running. Rubber dust smells and it is the reason the extraction exists.
- In Ruby, choose the rubber / stamp material and turn shoulders on. A shoulder puts a slope on every raised edge so it holds up under pressure instead of folding.
- Starting point on the 60 W: full power, speed around 25 to 35 %, 500 dpi. Measure the depth with calipers; aim for 1 to 1.5 mm and run a second pass if it is shallow. Cut the outline slow.
- Wash the die in warm water with dish soap and a soft brush until nothing comes off. Dry it. Ink it and stamp once by hand. Fix the artwork now if anything is filled in or missing.
Print the handle
- In Fusion, set parameters:
die_width,die_depth,grip_diameter,grip_height. A grip of 30 to 40 mm across and 40 to 60 mm tall suits most hands. - Model a base plate at die size plus 1 mm each side, 6 mm thick, and the grip on top of it.
- Give the handle a way to say which way is up without looking: a flat on one side, a notch, or an arrow raised on the top face. Fillet every edge a hand touches.
- Print base down, no supports. Check the base is flat.
- Mount the die with double-sided stamp foam, the orientation cue pointing to the top of the design. Ten impressions in a row is the test.
Other places the split works
The stamp is the clearest example, but the pattern is general. On a mostly laser-cut artifact, print the parts the laser cannot make: a pin that holds two layers at an angle, a clip that grips 3 mm plywood, a foot so a panel stands up, a hinge. Model the printed part in the same Fusion file as the laser parts so the fit is checked before anything is made.
- Designing for FDM covers the printer side.
- Arranging parts for the laser covers getting the flat parts to the sheet.